Introduction
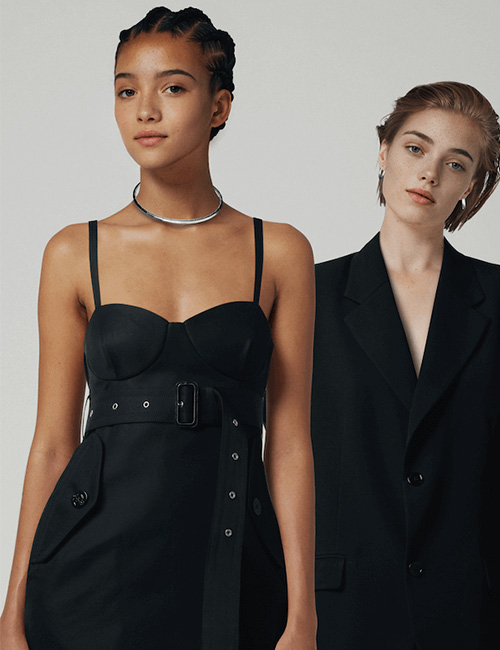
With the ability to create near-realistic AI-powered images of you or anyone else, the future for generative AI-powered digital modelling looks pretty enticing. Over the next two to three years, I expect that AI-powered digital modelling will become more standardized for both everyday people and brand use. Where do you see AI generation for professional photography and modeling going over the next three to five years, given the progress made over the past two years?
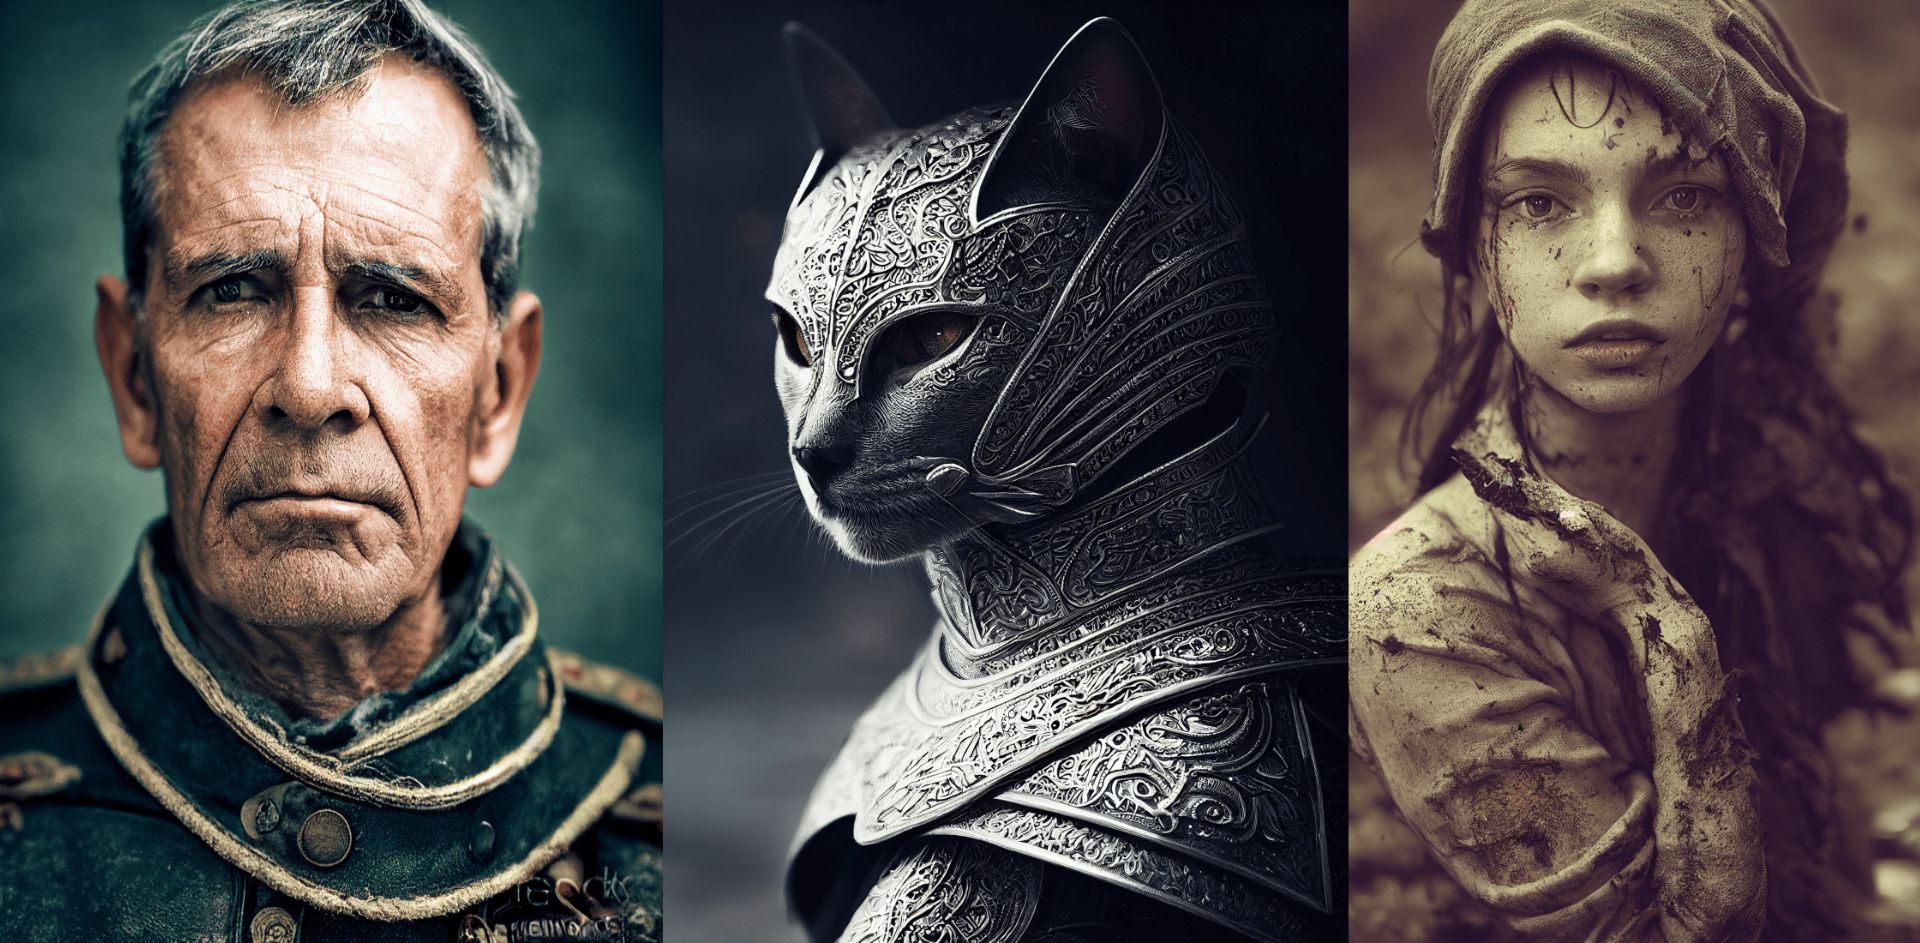
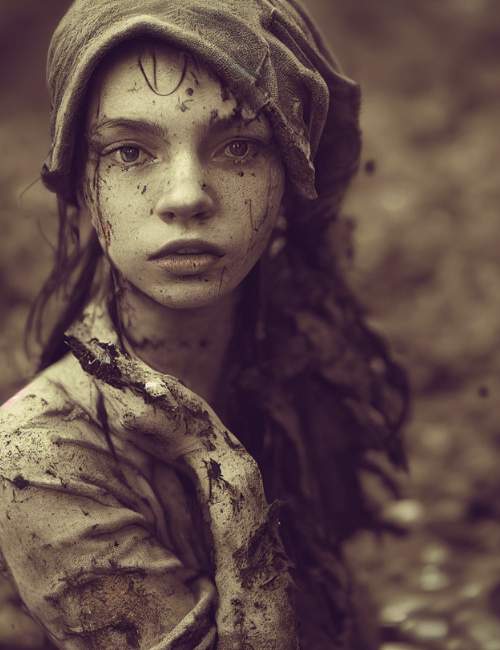
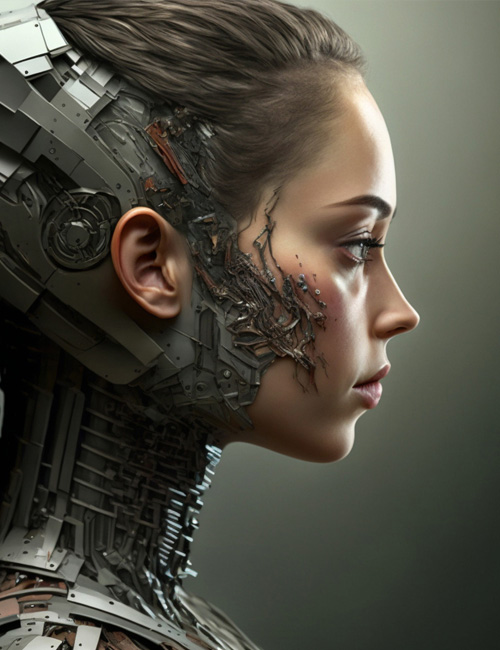
In this article, we'll cover the process used to replace photographers jobs via generating realistic model photos close to what's currently achieved by professional photography using AI.
Why does AI-powered portrait photography matter?
Using AI to generate model photos of others or yourself is a pretty hot trend right now, and for a good reason: it enables the creation of AI-powered images on par with professional models and photographers. With AI, there is no need for expensive camera equipment or a photographer, you don't need to rent a studio, and you don't even have to have a physical product or leave your couch.
Lalaland AI, a company that has recently raised $2.6M USD in seed funding at an estimated $12M valuation for a service that provides AI-powered models, achieves a similar end result to what you can achieve by doing what's outlined below. Lalaland was also put into Google's accelerator program.
Lensa, recently reached $1M USD in revenue per day selling AI-powered avatars as a service and countless other AI-powered avatars apps and companies have also turned into multi-million dollar businesses over the last month.
Let's get into the process. Here are three photos of me; can you guess which one is AI-generated?
The AI-generated photo is on the left. The photo to the right was taken by a professional photographer. An overview of the steps that were taken to achieve this:
Step 1: Gather Images for Training (NOT Dreambooth)
If you want high quality images, you need to put in work to get your ideal outcome, sadly you can't sprinkle magic AI fairy dust and have your own fine-tuned AI which gives you the outcome you want. (You can use paid services who have fine-tuned an ai already though, so you don't have to). But, if you want to create these yourself without paying to use someone's already fine-tuned stable diffusion model, You must fine-tune a Stable Diffusion model yourself by feeding it photos that teach it how to create better realistic-style images.
Step 2: Prepare your Images
Visit burmy.net or burm.net to resize your images to at least 512x512 pixels (ideally bigger so your model is trained better; note that bigger images are much more expensive). This resolution is required for Stable Diffusion model training. Upload your images, and the website will resize them automatically. Make sure to select the images that maintain the right distance and proportions for facial training. Save the resized images either in a zip file or individually.
Step 3: Train Your Model Using Stable Diffusion
Start by Downloading Stable Diffusion 2.1, and create a custom Stable Diffusion model for your images. There are many ways to do this; a common method is to gather 20-30 high-quality images similar to the desired end output. Here's a video that goes over using textual inversion training on Stable Diffusion. Note: you might need to play around with training the model. This includes the settings, the amount of photos, the photos your using, etc.
Note: We can't provide a full in-depth tutorial for each step, as it would make the article as long as a book. This article provides a macro-level overview of the process.
Step 4: Run the Training Process
Once you have set up the model to be trained according to the outcome you want, let it run. It'll take some time depending on the number of images and training steps (between 1-8 hours). Once the process is complete, the AI will generate images based on your input.
Step 5: Refine your model
Once you've played around with the initial Stable Diffusion training, you can further refine your AI model by using tools like Dreambooth or LORA. This is when the magic really happens as you're now stacking the training you did on the Stable Diffusion model further with a tool like Dreambooth. This process involves retraining your Stable Diffusion model with additional photos, resulting in even more realistic and professional-grade images.
Now, with some Stable Diffusion practice, a website, and a touch of marketing, you too can start your business and raise investor funding by leveraging trained Stable Diffusion models like Lalaland. Lalaland's process involves AI-generating models, then adding a 3D render of your product on top.
Challenges with Model AI generation
Even when training your model, there's often a lot of additional training required on eyes, hands, skin texture, and more. Due to this, AI generation currently uses a bit of a shotgun approach: out of 100, maybe there are 10 high-quality photos. In the future, we can expect both a lower barrier of entry for AI generation in modeling and resolution of these problems.
The Future of AI-powered photography
For the future, once the complexity of deploying your own trained models lowers, expect to see even more mass adoption of realistic-style AI-powered photos, 3D rendering of clothing, accessories, and other elements that brands require on their models.
Once the challenges mentioned above are fixed, expect most models to lose their jobs due to the power of using AI-powered tools in the modeling industry. AI-powered modelling just has too many benefits, ranging from the pricing to the speed, it's practically near impossible to compete with.
Conclusion
Generative AI for modeling has come a long way in the past couple of years alone, and there are pros and cons to using it. Obviously, the pros are good enough for fortune 500 brands to use it. However, there are still quite a few steps required before we can achieve consistent results on par with professional photography.
Leave a Reply
What's your way of training Stable Diffusion?
